
Shurflo Water Pump Manual: A Comprehensive Guide
This manual details Shurflo pump operation‚ installation‚ and troubleshooting for RV‚ marine‚ and industrial uses. It covers models like the 8000 and 2088 series‚ ensuring reliable water delivery;
Understanding Shurflo Water Pumps
Shurflo water pumps‚ manufactured by Pentair since 1968‚ are renowned for their durability and efficiency in delivering water across diverse applications. These pumps utilize a diaphragm design‚ creating a self-priming system capable of handling both high flow rates and consistent pressure‚ even in compact spaces. Their engineering prioritizes maximizing performance within a small footprint‚ making them ideal for recreational vehicles‚ boats‚ and various industrial settings.
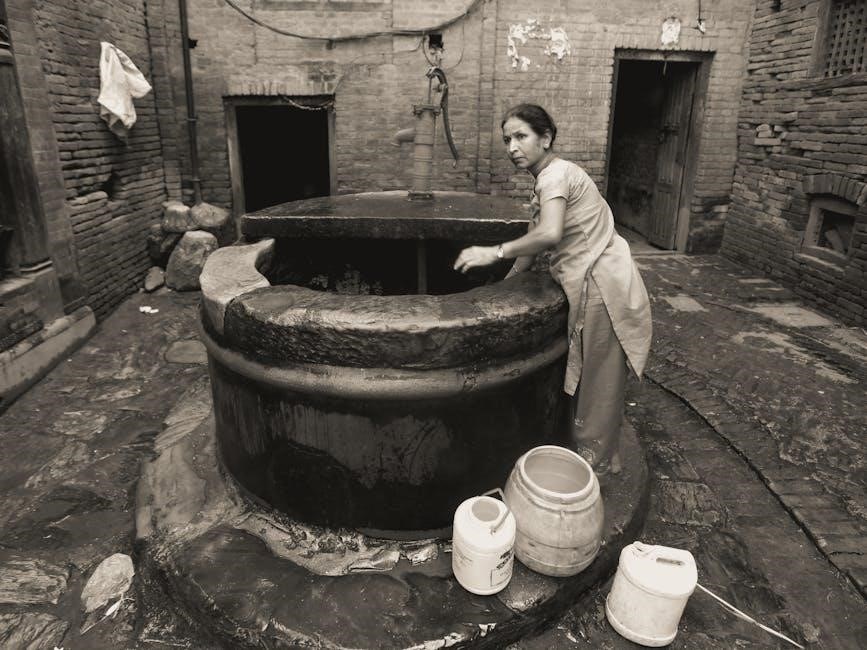
A key characteristic of Shurflo pumps is their demand-switch functionality. This feature allows the pump to automatically activate when water is needed and shut off when demand ceases‚ conserving energy and extending pump life. Many models are also “dry-run safe‚” preventing damage if operated without water. Understanding these core principles – self-priming‚ high flow‚ demand operation‚ and dry-run protection – is fundamental to effectively utilizing and maintaining a Shurflo water pump system. They are built for reliable fluid transfer;
Shurflo Pump Applications
Shurflo water pumps demonstrate remarkable versatility‚ serving a broad spectrum of applications across multiple industries. Predominantly‚ they are a staple in the recreational vehicle (RV) sector‚ providing reliable water supply for sinks‚ showers‚ and toilets during travel and camping. Marine applications benefit from their corrosion resistance and ability to handle saltwater environments‚ powering water systems on boats and yachts.
Beyond recreation‚ Shurflo pumps are extensively used in industrial settings for fluid transfer‚ spraying‚ and filtration systems. This includes applications in agriculture‚ manufacturing‚ and even specialized equipment like floor care machines. Their compact size and high flow capabilities also make them suitable for remote locations where access to pressurized water is limited. Furthermore‚ they are utilized in chemical transfer‚ requiring pumps with chemically resistant housings‚ like the 2088-343-435 model. Essentially‚ any application needing dependable‚ on-demand water or fluid delivery can benefit from a Shurflo pump.
Key Features of Shurflo Pumps (High Flow‚ Compact Size)
Shurflo pumps are renowned for their exceptional balance of performance and practicality‚ boasting two core features: high flow rates and a compact size. Despite their relatively small footprint‚ these pumps deliver substantial water volume‚ ensuring consistent pressure for multiple fixtures simultaneously. This is achieved through innovative diaphragm pump designs‚ like those found in the 2088 series‚ capable of 3 GPM (gallons per minute).
The compact design is crucial for installations in confined spaces‚ common in RVs‚ boats‚ and industrial machinery. This allows for flexible mounting options and minimizes intrusion into valuable space. Furthermore‚ Shurflo’s engineering focuses on efficiency‚ drawing low current while maintaining powerful output. Many models are also self-priming and dry-run safe‚ adding to their reliability and ease of use. The patented designs deliver smooth‚ consistent flow across all operational ranges‚ making Shurflo a leader in fluid handling.
Shurflo Pump Models: 8000 Series & 2088 Series
Shurflo offers a diverse range of pumps‚ but the 8000 Series and 2088 Series are particularly popular. The 8000 Series is known for its robust construction and consistent performance‚ often utilized in demanding applications requiring high flow and pressure. These pumps feature a patented design for smooth operation and reduced current draw‚ making them energy efficient.
The 2088 Series‚ exemplified by the 2088-343-435 model‚ is a 12V DC diaphragm pump ideal for lighter-duty applications like RVs and marine systems. It delivers 3 GPM at 45 PSI and boasts self-priming capabilities with ½ inch male ports. Its chemical-resistant housing enhances durability. Both series incorporate demand switches for automatic operation and are designed for reliable‚ long-term service. Choosing the right series depends on specific flow rate‚ pressure‚ and application requirements‚ ensuring optimal performance and longevity.
Pump Components & Their Functions
A Shurflo water pump comprises several key components working in unison. The diaphragm is central‚ creating the pumping action through reciprocating movement. A motor‚ typically 12V DC‚ powers this diaphragm. The pump head houses the diaphragm and valves‚ directing water flow. Valves‚ both inlet and outlet‚ ensure unidirectional flow‚ preventing backflow.
The pressure switch automatically activates and deactivates the pump based on water pressure‚ maintaining consistent output. A strainer protects the pump from debris‚ extending its lifespan. The ports (typically ½ inch) facilitate water connections. Many models include a dry-run protection feature‚ preventing damage when operating without water. Understanding each component’s role is crucial for effective troubleshooting and maintenance‚ ensuring optimal pump performance and longevity. Regular inspection of these parts is recommended.
Electrical Requirements & Wiring (12V DC)
Shurflo water pumps commonly operate on 12V DC power‚ making them suitable for RVs‚ boats‚ and off-grid applications. Ensure your power source consistently delivers 12V DC to avoid pump damage or reduced performance. A fuse is essential for protecting the pump and wiring from overcurrents; consult your pump’s specifications for the correct fuse amperage.
Wiring typically involves connecting the pump’s positive (+) and negative (-) wires to the corresponding terminals of your power source or a dedicated switch. Use appropriately sized wire (typically 16-18 gauge) to handle the pump’s current draw. Proper grounding is crucial for safety. Always disconnect the power source before performing any wiring. Incorrect wiring can lead to pump failure or electrical hazards. Verify polarity before connecting to prevent damage.
Installation Guide: Step-by-Step Instructions
Step 1: Select a dry‚ accessible location for the pump‚ minimizing vibration and noise. Step 2: Mount the pump securely using its mounting feet to a solid surface. Step 3: Connect the inlet hose to the pump‚ ensuring a tight‚ leak-proof fit with hose clamps; Use Teflon tape on threaded connections.
Step 4: Attach the outlet hose to the pump‚ again ensuring a secure connection. Step 5: Wire the pump to a 12V DC power source‚ including an inline fuse for protection. Step 6: Install a strainer on the inlet hose to prevent debris from entering the pump. Step 7: Before priming‚ double-check all connections for leaks.
Step 8: Ensure the pump is positioned lower than the water source for efficient priming. Following these steps will ensure proper installation and optimal pump performance.
Priming the Shurflo Water Pump
Initial Priming: After installation‚ the pump likely needs priming – removing air from the pump head and inlet hose. Begin by disconnecting the outlet hose at the pump. Step 1: Pour water directly into the pump inlet port until water exits the outlet port. This ensures the pump chamber is full.
Step 2: Reconnect the outlet hose securely. Step 3: Cycle the pump on and off several times (short bursts) to help expel any remaining air bubbles. Listen for a consistent pumping sound‚ indicating successful priming. If the pump doesn’t prime after a few attempts‚ check for leaks in the inlet hose or connections.
Troubleshooting Priming: Ensure the inlet hose is submerged in the water source. A foot valve can help maintain prime. Consistent priming ensures optimal water flow and prevents pump damage.
Troubleshooting: Pump Won’t Start
Electrical Check: If your Shurflo pump fails to start‚ the first step is verifying the 12V DC power supply. Use a voltmeter to confirm voltage reaches the pump terminals. Fuse Inspection: Check the inline fuse – a common culprit – and replace it if blown. Ensure the fuse amperage matches the pump’s specifications.
Wiring Verification: Inspect the wiring connections for looseness or corrosion. A secure and clean connection is crucial. Confirm correct polarity (positive and negative) is maintained. Switch Functionality: Test the demand switch; it should activate when water pressure drops. A faulty switch prevents pump operation.
Pump Blockage: Though less common‚ debris can obstruct the pump. Disconnect power and inspect the inlet screen for blockages. A blocked inlet prevents the pump from drawing water and starting.
Troubleshooting: Pump Cycles On/Off Rapidly
Air Leaks: Rapid cycling often indicates air entering the system. Inspect all fittings‚ hoses‚ and connections for leaks‚ particularly on the suction side of the pump. Tighten connections or replace worn components. Low Water Supply: Ensure the water source isn’t depleted. A low water level causes the pump to repeatedly start and stop as it struggles to maintain pressure.

Pressure Switch Issues: A faulty pressure switch can misinterpret pressure levels‚ causing frequent cycling. Test or replace the switch if suspected. Restricted Filter: A clogged water filter restricts flow‚ leading to pressure drops and pump cycling. Replace the filter with a new one.
Small Leaks: Even minor leaks can cause pressure loss and cycling. Thoroughly inspect the entire plumbing system for drips or wet spots. Address any leaks promptly to restore normal operation.
Troubleshooting: Pump Runs But No Water Flow
Priming Issues: The pump may have lost its prime. Refer to the priming instructions to properly re-prime the pump‚ ensuring all air is expelled from the system. Clogged Inlet: Inspect the pump’s inlet screen or filter for obstructions. Debris can block water intake‚ preventing flow. Clean or replace the inlet component.
Blocked Outlet: Check for kinks or blockages in the outlet hose or plumbing lines. Ensure a clear path for water to flow from the pump to the fixtures. Internal Obstruction: In rare cases‚ debris may enter the pump housing itself. Disconnect power and carefully disassemble the pump to inspect and remove any obstructions.
Frozen Lines: If operating in cold temperatures‚ check for frozen water lines. Thaw frozen lines before attempting to use the pump. Verify the water source isn’t frozen either.
Troubleshooting: Pump Loses Prime
Air Leaks: The most common cause is air entering the system through loose fittings on the inlet side of the pump‚ or within the plumbing itself. Inspect all connections – hose clamps‚ threaded fittings – and tighten or replace as needed. Use Teflon tape on threaded connections.
Worn Pump Head or Diaphragm: Over time‚ the pump’s internal components‚ particularly the diaphragm‚ can wear out‚ leading to a loss of suction and prime. Consider replacing the pump head or the entire pump if wear is significant.

Inlet Hose Issues: Ensure the inlet hose isn’t cracked‚ collapsed‚ or porous‚ allowing air to be drawn in. Replace damaged hoses. Also‚ verify the inlet hose is submerged sufficiently in the water source. Check Valve Failure: If equipped‚ a faulty check valve can allow water to drain back‚ causing prime loss. Inspect and replace if necessary.
Troubleshooting: Noisy Pump Operation
Air in the System: Often‚ a noisy pump indicates air trapped within the pump housing or plumbing lines. Thoroughly prime the pump following the instructions in the manual. Cycle the pump on and off several times to help purge the air.
Loose Mounting: A pump that isn’t securely mounted can vibrate excessively‚ creating noise. Ensure the pump is firmly attached to a stable surface using appropriate mounting hardware. Consider using rubber isolation mounts to dampen vibrations.
Cavitation: This occurs when the pump is trying to draw water faster than it can receive it‚ creating air bubbles that collapse and cause noise. Check for restrictions in the inlet line or a low water supply. Worn Bearings/Components: Internal wear within the pump can also cause noise. If the noise persists‚ the pump may require servicing or replacement.
Leak Detection & Repair
Identifying Leak Sources: Carefully inspect all connections – inlet and outlet ports‚ hose clamps‚ and the pump housing itself – for any signs of water leakage. Run the pump and observe closely. A small leak can quickly escalate‚ so prompt attention is crucial.
Tightening Connections: Often‚ leaks stem from loose fittings. Gently tighten hose clamps and threaded connections. Avoid over-tightening‚ as this can damage the fittings or pump housing. Use appropriate wrenches to prevent rounding off the nuts.
Hose Inspection & Replacement: Examine hoses for cracks‚ kinks‚ or wear. Replace any damaged hoses with ones specifically designed for potable water systems. Ensure hoses are securely connected and properly sized for the pump’s ports. Pump Housing Cracks: If the pump housing is cracked‚ replacement is generally recommended‚ as repairs are often unreliable.
Winterizing Your Shurflo Pump
Preventing Freeze Damage: Winterizing protects your Shurflo pump from costly damage caused by freezing temperatures. Water expands when frozen‚ potentially cracking the pump housing or internal components. This process is vital for pumps used in RVs or boats stored in cold climates.
Draining the System: Begin by disconnecting the water inlet line. Use the pump’s prime function to expel any remaining water from the pump head and lines. Continue until no water is discharged. Open all faucets and allow the system to drain completely.
RV Antifreeze: Introduce RV antifreeze (non-toxic propylene glycol) into the system. Pour antifreeze into a bucket and submerge the pump’s inlet hose. Run the pump briefly to circulate the antifreeze through the lines and pump. Repeat until antifreeze exits all faucets. Final Steps: Store the pump in a dry‚ protected location during the winter months.
Maintenance & Cleaning Procedures
Regular Inspection: Consistent maintenance extends the life of your Shurflo pump. Periodically inspect hoses for cracks‚ kinks‚ or leaks. Check all connections to ensure they are tight and secure. Examine the pump housing for any signs of damage or corrosion.
Filter Cleaning: A clogged inlet filter restricts water flow and strains the pump. Remove the filter (typically located at the pump inlet) and clean it thoroughly with mild soap and water. Rinse completely before reinstalling. Frequency depends on water source quality.
Pump Head Cleaning: If reduced flow persists‚ the pump head may require cleaning. Disassemble the pump head (refer to your model’s specific manual) and inspect for debris or mineral buildup. Clean with a vinegar solution to dissolve deposits. Lubrication: Avoid using oil-based lubricants‚ as they can damage the pump’s internal components.
Shurflo Pump Safety Precautions
Electrical Safety: Always disconnect the power supply (typically 12V DC) before performing any maintenance or repairs. Never work with electrical components in wet conditions. Ensure wiring is properly insulated and protected from damage. Use appropriately sized fuses to prevent overcurrent.
Pressure Relief: Before disconnecting any plumbing lines‚ relieve pressure within the system. This prevents unexpected water discharge and potential injury. Slowly open a faucet or valve to release pressure.
Chemical Compatibility: Verify that the fluids being pumped are compatible with the pump’s materials. Using incompatible chemicals can cause damage and failure. Refer to the pump’s specifications for a list of compatible fluids. Dry Running: While some Shurflo models are “dry run safe”‚ prolonged operation without water can reduce pump life. Avoid extended dry running whenever possible.